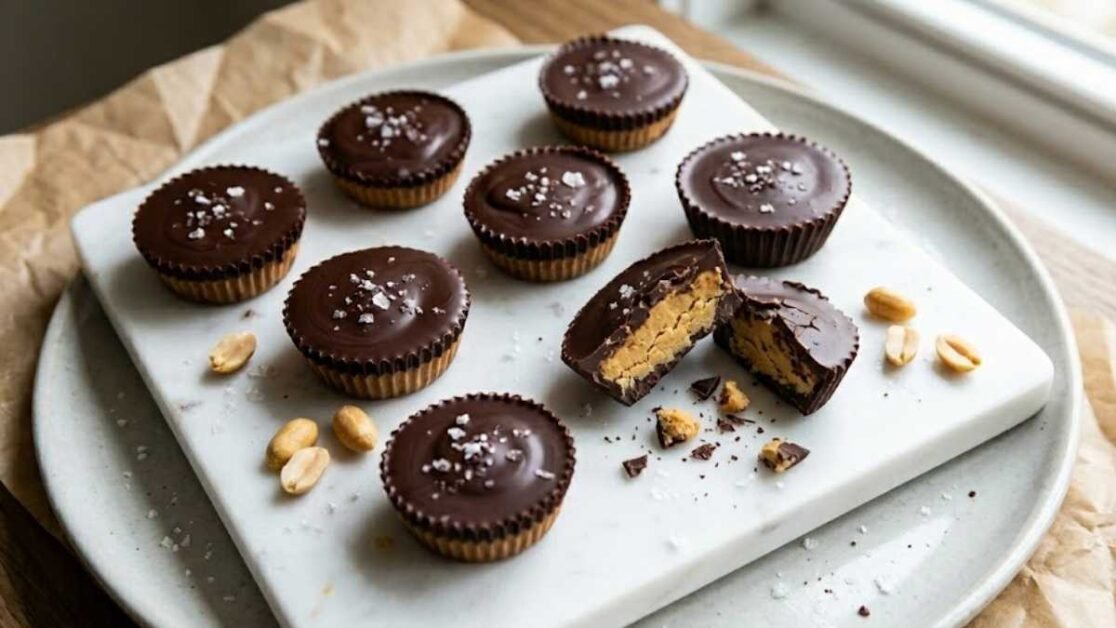
I’ve eaten Trader Joe’s dark chocolate peanut butter cups more times than I can count.
So when I decided to make them at home, I already knew exactly what I was going for.
The rich dark chocolate shell, the smooth but slightly textured peanut butter filling, and that perfect ratio where neither one overpowers the other.
Most homemade peanut butter cup recipes miss the mark because the filling comes out too soft, too sweet, or too one-dimensional.
One thing that changed everything for me was adding graham cracker crumbs to the peanut butter filling.
It gives the filling a slightly firmer texture that feels much closer to the real thing instead of just a blob of peanut butter inside chocolate.
Trader Joe’s vs Reese’s: What’s Actually Different?
This comes up as a question a lot, and I can answer it from personal experience since I’ve eaten both plenty of times.
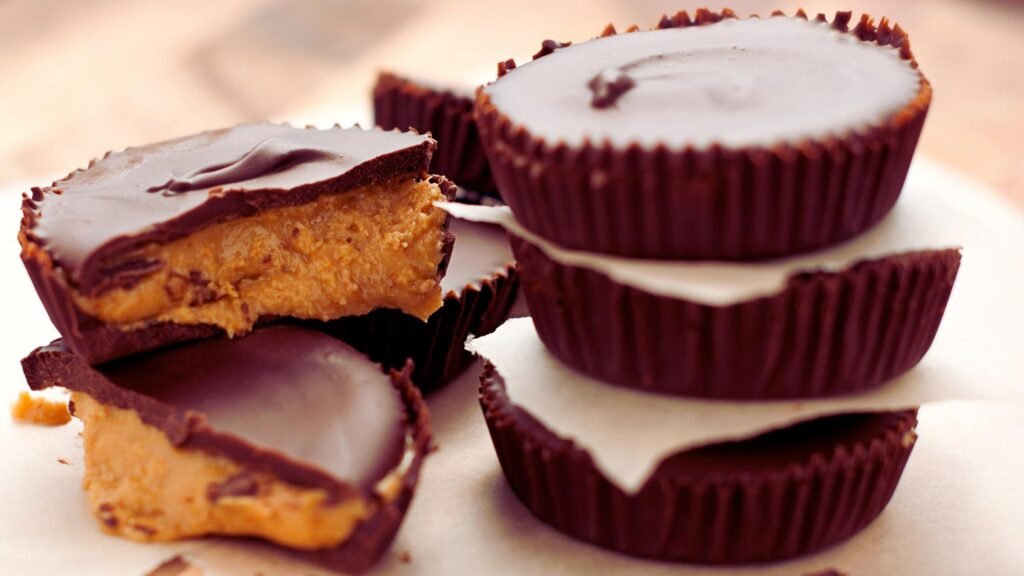
Trader Joe’s dark chocolate peanut butter cups are richer and less waxy than Reese’s.
On the other hand, the chocolate actually tastes like good dark chocolate, not just a sweet brown coating.
The filling is smoother and more balanced.
Reese’s are sweeter and have a drier, grittier filling texture.
The chocolate is also waxier, which you notice more at room temperature.
They’re not bad, but they’re a completely different experience, If you’ve only ever had Reese’s and then tried TJ’s for the first time, you’d understand immediately why people are loyal to them.
Ingredients
Makes 12 cups.
For the Chocolate Shell:
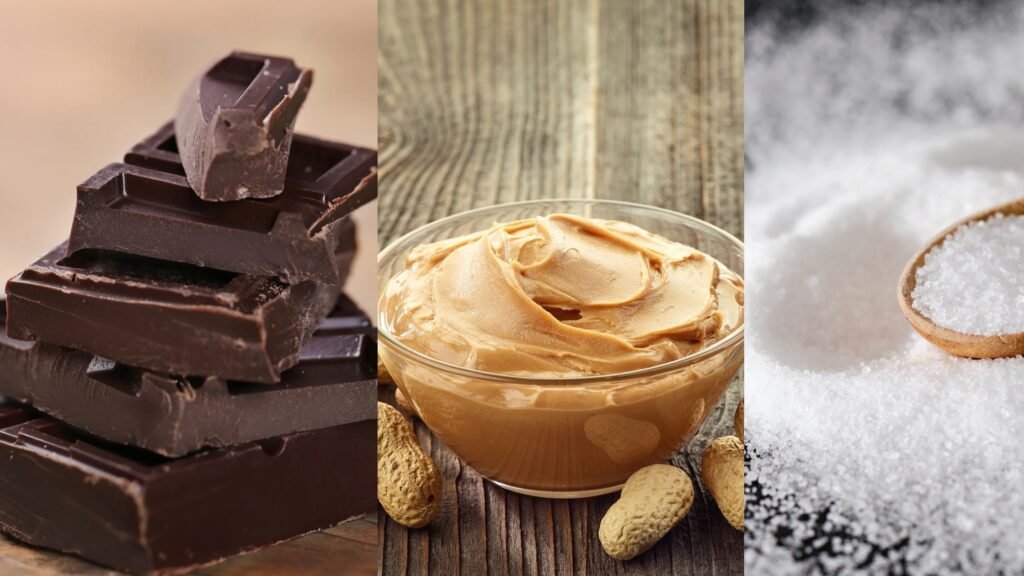
- 12 oz high-quality dark chocolate, at least 70% cocoa (use a bar and chop it, not chips. Chips have stabilizers that make the chocolate waxy and prevent a clean snap. Lindt and Ghirardelli both work well here)
For the Peanut Butter Filling:
- ½ cup natural creamy peanut butter, unsweetened (avoid peanut butter with added sugar or hydrogenated oils. You want one that’s just peanuts, or peanuts and salt)
- 2 tbsp powdered sugar
- 2 tbsp graham cracker crumbs (this is the secret. It gives the filling the slightly textured, firm consistency that makes it taste like TJ’s instead of just liquid peanut butter)
- ¼ tsp sea salt, plus extra for topping
- 1 tsp vanilla extract, optional
Why I use graham cracker crumbs: Plain peanut butter filling, even when mixed with sugar, stays too soft and one-note. When I use graham cracker crumbs, they absorb a little moisture, firm the filling up slightly, and add a barely-there texture that mimics what you get in the store-bought version. You don’t taste the graham crackers.
Substitutions
Chocolate: Milk chocolate works if you want something sweeter and less intense, semi-sweet is a middle ground. Just stick to a bar, not chips, regardless of which you choose.
Peanut butter alternatives: Almond butter gives a richer, nuttier flavor and Cashew butter is milder and creamier. Sunflower seed butter works if you need a nut-free version and has a similar consistency.
Sweetener: Maple syrup or honey can replace powdered sugar, but the filling will be softer since they’re liquid. Add a little more graham cracker crumbs to compensate.
Vegan version: Use dairy-free dark chocolate (Enjoy Life is reliable) and maple syrup instead of powdered sugar. Everything else stays the same. You might also like this Vegan Chocolate Banana Peanut Butter Chia Pudding as another plant-based chocolate peanut butter option.
Gluten-free: The recipe is naturally gluten-free except for the graham cracker crumbs. Swap those for almond flour or finely crushed gluten-free crackers for the same effect.
How to Make Trader Joe’s Dark Chocolate Peanut Butter Cups
Step 1: Melt the Chocolate
- Chop the chocolate bar into small, equal pieces; they should be smaller pieces, as they melt faster and more evenly.
- Melt it using a double boiler: set a heatproof bowl over a pot of barely simmering water, making sure the bottom of the bowl doesn’t touch the water. Stir gently until smooth.
- Alternatively, microwave in 30-second intervals and stir after each one.
- Stop when it’s mostly melted and let the residual heat finish it off as you stir. Overheating is what makes chocolate turn grainy and seize up.
Step 2: Make the Peanut Butter Filling
- In a bowl, you have to combine the peanut butter, powdered sugar, graham cracker crumbs, sea salt, and vanilla extract if using.
- Stir until fully mixed into a smooth, slightly firm filling. It should hold its shape when you scoop it, not run.
- If the filling feels too soft, add another half tablespoon of graham cracker crumbs. If it’s too stiff, a tiny drizzle of warm peanut butter loosens it up.
Step 3: Set Up Your Molds
- Line a mini muffin tin with paper liners, or you can use a silicone mini muffin mold.
- Silicone makes unmolding much cleaner since the cups just pop right out without sticking.
Step 4: First Chocolate Layer
- Spoon a small amount of melted chocolate into each liner, just enough to cover the bottom with a thin, even layer.
- Use the back of a spoon to push it a little up the sides if you want thicker walls on your cups.
- Place the tin in the fridge for about 10 minutes until the chocolate base has set firm.
Step 5: Add the Filling
- Drop a small spoonful of peanut butter filling into the center of each set chocolate base.
- Press it down gently into a flat disc shape.
- Leave a little gap around the edges so the top layer of chocolate can seal all the way around the filling.
Step 6: Seal with Chocolate
- Cover the filling with another spoonful of melted chocolate, and spread it to the edges to fully enclose everything.
- Then, immediately sprinkle a few flakes of sea salt on top while the chocolate is still wet.
Step 7: Chill and Serve
- Refrigerate for at least 30 minutes until completely set.
- Once firm, peel off the liners or pop them out of the silicone mold.
Tips for Getting Them Right
- Use a chocolate bar, not chips: This is the single most important thing. Chips contain stabilizers that make the chocolate taste waxy, which is exactly what makes Reese’s less appealing than TJ’s. A real dark chocolate bar melts cleanly and sets with a proper snap.
- Natural peanut butter only: The kind with just peanuts. If you use commercial peanut butter with added oils and sugar, the filling will be too greasy and too sweet, and you’ll lose that clean peanut flavor.
- Chill the base layer fully before adding filling: If the chocolate base is still soft when you add the peanut butter, the filling will sink through. Give it the full 10 minutes in the fridge.
- Don’t overfill: The filling should take up about 60% of the space inside the cup. Too much filling and the chocolate ratio gets thrown off, which changes the whole eating experience.
- Sea salt on top is not optional: That little sprinkle of flaky salt is what gives you that sweet-salty contrast that makes these so addictive.
Are Homemade Peanut Butter Cups Healthy?
Better than store-bought, yes, because you control everything that goes in. Here’s a rough nutritional breakdown per cup based on 12 servings:
- Calories: approximately 150
- Fat: 10g (mostly from peanut butter and dark chocolate, both of which contain healthy fats)
- Sugar: 8g (you can reduce this by using 85% dark chocolate and skipping extra sugar)
- Protein: 3g
Dark chocolate at 70% or higher contains antioxidants and has a lower sugar content than milk chocolate. Natural peanut butter adds protein and healthy fats without the hydrogenated oils found in commercial spreads.
Creative Gift Packaging
These make a genuinely thoughtful homemade gift. A few simple ideas:
- Mini Mason Jars: Layer the cups inside with a little tissue paper, tie a ribbon around the jar, and it looks great without much effort. Good for one or two people.
- Dessert Gift Box: Arrange these alongside other homemade treats like Girl Scout Caramel Chocolate Chip Cookies or Chocolate Fudge with Marshmallow Fluff in a box lined with parchment. It looks like something from a bakery.
- Recipe Card: Print out or handwrite the recipe and include it with the gift. It’s a personal touch that also lets the recipient make them again.
What to Pair With These Peanut Butter Cups
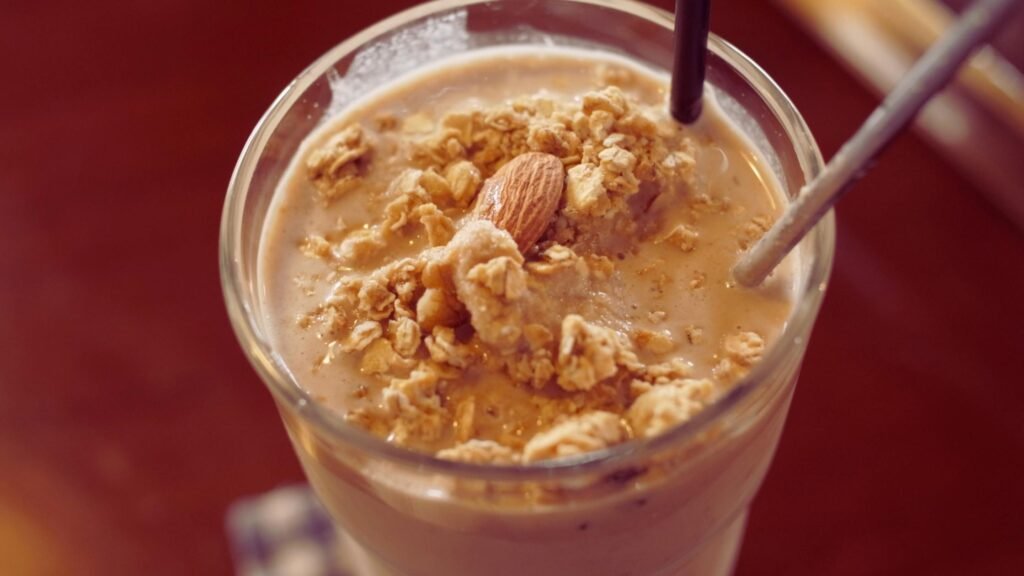
- Cold oat milk or almond milk: The nuttiness complements peanut butter better than regular milk. It’s a cleaner pairing that doesn’t compete with the dark chocolate.
- Espresso or black coffee: Bitter coffee against rich dark chocolate peanut butter cups is a classic combination. The bitterness cuts through the sweetness.
- Vanilla ice cream: Crumble a cup or two over a scoop. The contrast of warm ice cream and cold chocolate is really good.
- Chocolate Covered Pretzel Rods: If you’re putting together a chocolate snack spread, these and the peanut butter cups together cover the sweet-and-salty angle perfectly.
- Chocolate Covered Graham Crackers: A fitting pairing since graham crackers are already in the filling of these cups. Works well on a dessert tray.
Storage
Store in an airtight container in the fridge for up to 2 weeks. The cold keeps the chocolate firm and the filling set.
To freeze: place cups in a single layer on a parchment-lined tray and freeze for about an hour until solid, then transfer to an airtight container with parchment between layers. They keep for up to 3 months.
Pull them out and let them sit at room temperature for 10 minutes before eating.
FAQs
What are the ingredients in Trader Joe’s dark chocolate peanut butter cups?
Actual TJ’s version uses dark chocolate, peanut butter, sugar, palm oil, and a few stabilizers.
The dark chocolate is high quality, which is what gives them that rich, non-waxy flavor.
This copycat version recreates that with just dark chocolate, natural peanut butter, powdered sugar, graham cracker crumbs, sea salt, and optional vanilla.
What makes Trader Joe’s peanut butter cups so good?
Two things: the quality of the dark chocolate and the peanut butter-to-chocolate ratio.
TJ’s uses a higher cocoa percentage than most mainstream brands, which means less sugar and more actual chocolate flavor.
The filling is also smoother and less sweet than what you get in Reese’s, so neither element overwhelms the other.
Are Trader Joe’s peanut butter cups better than Reese’s?
In my opinion, yes, and they’re different products.
TJ’s are richer, the chocolate is less waxy, and the filling is smoother and less gritty.
Reese’s are sweeter, drier in texture, and the chocolate has a waxier coating.
If you prefer something very sweet and nostalgic, Reese’s deliver that. If you want something that tastes like actual dark chocolate with real peanut butter, TJ’s wins easily.
What is the secret to making homemade peanut butter cups taste like the store-bought version?
Graham cracker crumbs in the filling, Plain peanut butter mixed with sugar stays too soft and doesn’t have the right texture.
Adding graham cracker crumbs firms the filling slightly and gives it a texture that’s much closer to what you get from TJ’s.
You don’t taste the graham crackers at all. It just makes the filling feel right.
Can I use milk chocolate instead of dark chocolate?
Yes. Milk chocolate will make them sweeter and creamier, which is a different experience but still good.
If you want something between the two, semi-sweet chocolate is a solid middle ground. Just use a bar either way, not chips.
How long do homemade peanut butter cups last?
Up to 2 weeks in an airtight container in the fridge, or up to 3 months in the freezer. They hold their texture best when kept cold.
Are these gluten-free?
The recipe is naturally gluten-free except for the graham cracker crumbs. Swap those for almond flour or certified GF crackers and the whole recipe becomes gluten-free.
The rest of the ingredients contain no wheat or gluten. Just double-check your chocolate brand to be safe.
Can I make these without a mini muffin tin?
Yes. A silicone ice cube tray works well for a thicker cup shape.
You can also line a small baking dish with parchment, layer the chocolate and filling like a slab, and break it into pieces after setting. It won’t look like traditional cups but tastes exactly the same.
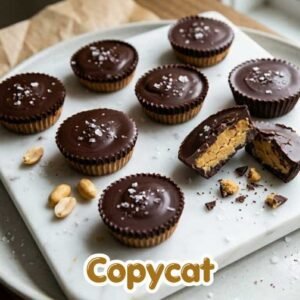
Trader Joe’s Dark Chocolate Peanut Butter Cups Copycat
Ingredients
Chocolate Shell:
- 12 oz high-quality dark chocolate bar 70%+ cocoa, chopped
Peanut Butter Filling:
- ½ cup natural creamy peanut butter unsweetened
- 2 tbsp powdered sugar
- 2 tbsp graham cracker crumbs
- ¼ tsp sea salt plus extra for topping
- 1 tsp vanilla extract optional
Instructions
Step 1: Melt Chocolate
- Chop chocolate bar into small pieces.
- Melt using a double boiler or microwave in 30-second intervals, stirring each time, until smooth.
Step 2: Make the Filling
- Mix peanut butter, powdered sugar, graham cracker crumbs, sea salt, and vanilla until smooth and slightly firm.
Step 3: First Chocolate Layer
- Line a mini muffin tin with paper liners or use a silicone mold.
- Spoon a thin layer of melted chocolate into each cup.
- Refrigerate for 10 minutes until set.
Step 4: Add Filling
- Drop a small spoonful of peanut butter filling into the center of each cup.
- Press into a flat disc, leaving a gap around the edges.
Step 5: Seal with Chocolate
- Cover filling completely with remaining melted chocolate.
- Sprinkle flaky sea salt on top immediately.
Step 6: Chill and Serve
- Refrigerate for 30 minutes until fully set.
- Unmold and serve cold.
Notes
- Use a chocolate bar, not chips. Chips contain stabilizers that make the chocolate waxy.
- Natural peanut butter only. No added oils or sugar.
- The graham cracker crumbs are essential for the right filling texture.
- Store in fridge for up to 2 weeks or freeze for up to 3 months.
I’m a self-taught home cook who turns everyday ingredients into comforting, café-style recipes. I test everything in my own kitchen (sometimes more than once), tweak flavors how I like them, and share only what I actually enjoy.
Most of my recipes are chocolate-based or have a creative twist, and I keep them preservative-free, beginner-friendly, and fun to make.
If you love cozy drinks, healthier desserts, or bold flavor combos — you’re in the right place. [Read full story]