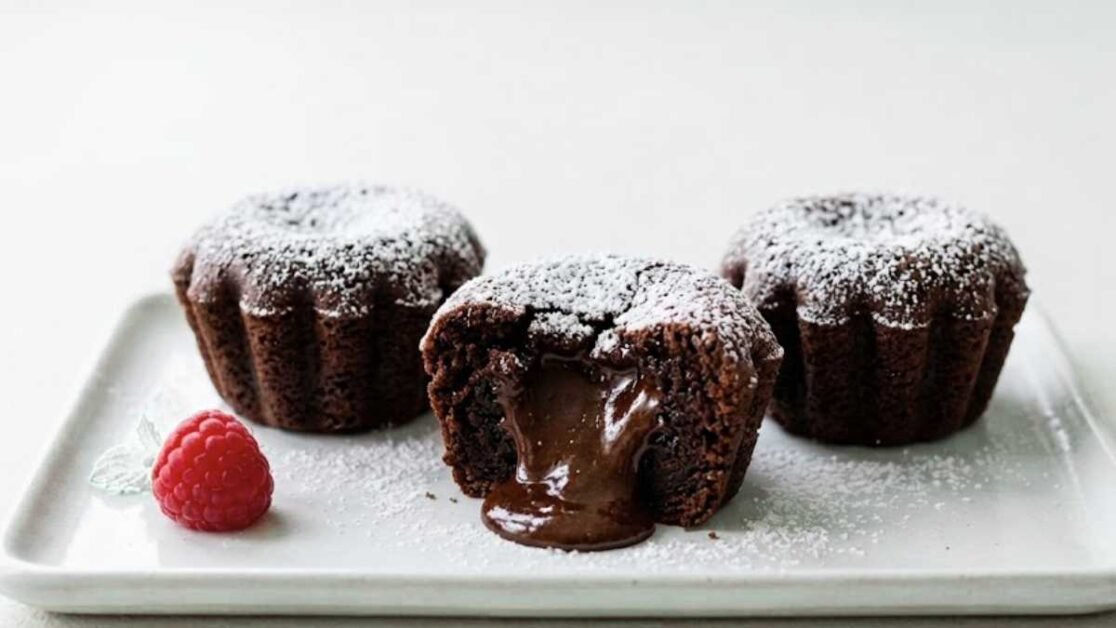
A restaurant lava cake at a chain steakhouse runs close to ten dollars these days, and that’s a sharable size meant for two people, not an individual portion.
Make a batch of these mini lava cakes in muffin tins instead and the same $10 covers butter, chocolate, eggs, and sugar for somewhere between eight and ten mini cakes, with leftovers that freeze well for whenever the craving hits again.
The standard method for lava cake relies entirely on timing, you have to pull it from the oven a minute too late and the center sets into regular cake.
Pull it a minute too early and the whole thing collapses when you flip it. That’s a stressful way to bake something for guests, so this version builds in a safety net: a small disc of frozen ganache dropped into the center of each cake before baking.
Why the Ganache Trick Changes Everything
Most mini lava cake recipes online use the same approach as a full-size version: underbake regular cake batter just enough that the center stays liquid.
It works, but it’s fragile. Oven temperatures vary, muffin tin materials conduct heat differently, and even a minute of difference in baking time swings the result from perfectly molten to fully cooked through.
Dropping a frozen piece of ganache into the center of the batter before baking solves this problem. The ganache, made from chocolate and cream, sets up firm in the freezer and then melts as the surrounding cake bakes.
By the time the outside of the cake is fully set, the ganache center has gone liquid again, giving you that lava effect with much less precision required.
Ingredients
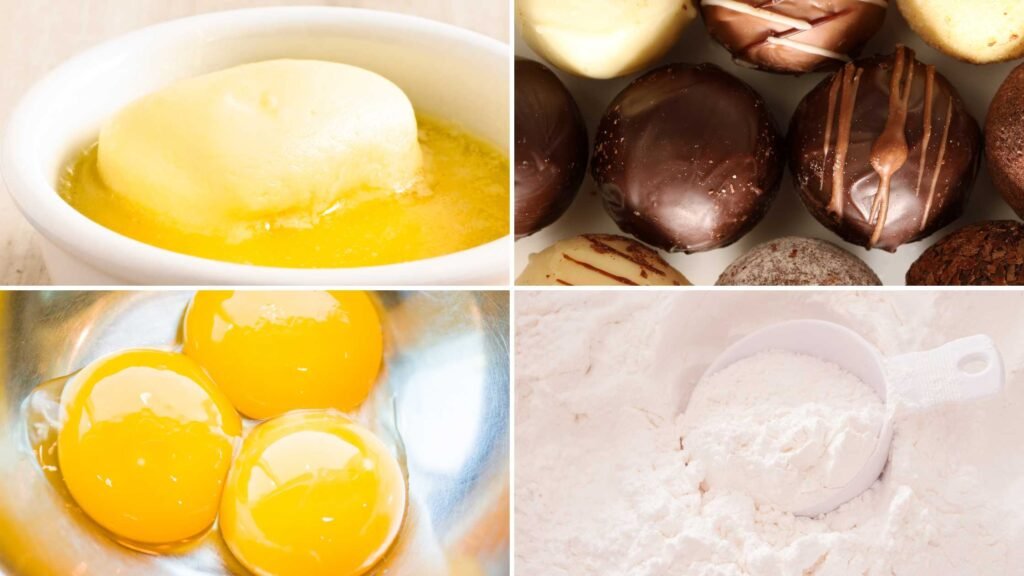
This recipe makes 8 to 10 mini lava cakes using a standard mini muffin tin.
Core Ingredients
- 1/4 cup (60g) unsalted butter
- 3 oz (85g) high-quality dark chocolate, 60 to 70% cocoa (Ghirardelli, Lindt, or Callebaut all work well; avoid chocolate chips, which contain stabilizers that keep them from melting into a true molten texture)
- 1 whole egg plus 1 egg yolk
- 3 tbsp (40g) granulated sugar
- 1 tbsp all-purpose flour
- 1/4 tsp vanilla extract, optional
- Pinch of salt
Optional Additions
- 1/4 tsp espresso powder, for deeper chocolate flavor
- A small pinch of cayenne or cinnamon, for warmth
Chocolate chips are made to hold their shape when baked into cookies, which is the opposite of what you want here. Stick to a chopped baking bar.
Substitutions
- For a dairy-free version, swap the butter for refined coconut oil, which melts the chocolate just as well and adds a faint coconut note that mostly disappears into the chocolate flavor.
- Semi-sweet, milk chocolate, or white chocolate can replace the dark chocolate for a different flavor profile. If you go with white chocolate, cut the added sugar slightly since white chocolate is already quite sweet on its own.
- Almond flour works in place of all-purpose flour, though the texture comes out a touch more crumbly around the edges.
- For the sugar, maple syrup, honey, or a monk fruit sweetener can all stand in, though each behaves a little differently in terms of sweetness and moisture, so start with slightly less than the recipe calls for and adjust to taste.
How to Make Mini Lava Cakes in Muffin Tins
Prep the pan:
- Preheat the oven to 425°F (218°C).
- Grease each cup of the mini muffin tin generously with melted butter or baking spray, then dust with cocoa powder so the cakes release cleanly.
- Silicone trays make this step easier, though greasing is still worth doing even with silicone.
Melt the chocolate and butter:
- Combine the chopped chocolate and butter in a small bowl, then melt either in 20-second microwave bursts, stirring between each, or over a double boiler.
- Stir until the mixture is smooth and glossy, then let it sit for 2 to 3 minutes to cool slightly before the next step.
Whisk the eggs and sugar:
- In a separate bowl, whisk together the whole egg, egg yolk, sugar, and vanilla if using.
- Beat by hand until the mixture turns slightly thick and pale, which usually takes a minute or two of steady whisking.
Combine the wet ingredients:
- Slowly pour the melted chocolate mixture into the egg mixture while whisking continuously.
- Pouring too fast risks cooking the eggs from residual heat, so take this part slowly.
Add the dry ingredients:
- Sift in the flour and salt, along with espresso powder or cinnamon if using.
- Fold gently with a spatula just until combined.
- Overmixing at this stage makes the finished cakes dense rather than light.
Fill the muffin cups:
- Spoon the batter into the prepared cups, filling each about three-quarters full.
- They rise slightly during baking, so resist the urge to fill them higher.
Bake for 5 to 6 minutes:
- This is the maximum time, not a suggestion.
- The edges should look set and slightly firm, while the centers should still jiggle gently when you tap the pan.
- Overbaking by even a minute or two costs you the molten center entirely.
Cool briefly, then release:
- Let the cakes sit for 1 to 2 minutes only after pulling them from the oven.
- Run a small knife around the edge of each one, then invert the pan onto a tray or plate.
- A light tap usually releases them cleanly.
- If a cake feels stuck, give it another minute before trying again rather than forcing it.
Regular Muffin Tin vs. Mini
A standard 12-cup muffin tin works for this recipe too, though the cakes come out closer in size to a traditional individual lava cake rather than the bite-sized version.
Baking time increases to 8 to 10 minutes in a regular tin, and you’ll get fewer cakes from the same batch, somewhere around 5 to 6 instead of 8 to 10.
If portion control or a party tray of small bites is the goal, stick with the mini tin. If you want something closer to a restaurant-style single serving, the regular tin gets you there.
Serving Ideas
Dusting powdered sugar is the simplest finish that gives a clean, classic look without adding much sweetness.
And small scoop of vanilla bean ice cream alongside creates the hot-cold contrast that makes lava cake feel special in the first place, the molten center meeting cold cream right as you cut in.
For a more done-up presentation, top with whipped cream and a drizzle of melted chocolate, or pair with fresh berries like strawberries or raspberries for some acidity to cut the richness.
My white chocolate cheesecake stuffed strawberries make a good plate companion if you’re setting up a dessert spread.
Cookies on the side round things out nicely. Crumbl semi-sweet chocolate chip cookies work well here, and chocolate-covered pretzel rods add a salty crunch if you want variety on a dessert tray.
Flavor Variations
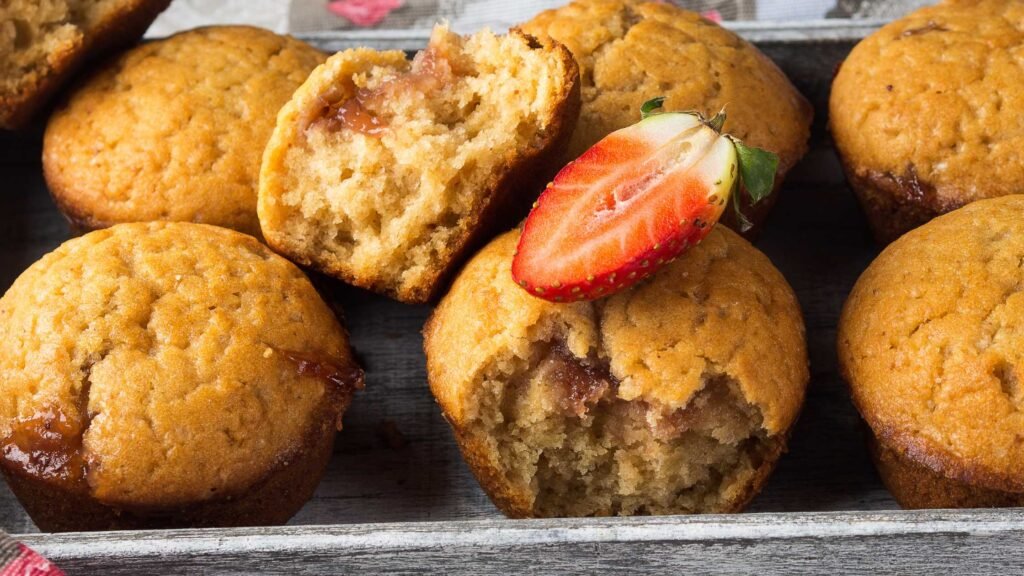
A small dollop, about half a teaspoon, of creamy peanut butter dropped into the center of each cake before baking adds a gooey peanut butter pocket alongside the chocolate, not unlike the combination in a Trader Joe’s dark chocolate peanut butter cup.
For a mocha version, stir half a teaspoon of espresso powder into the batter and dust the tops with a little instant coffee before serving.
Frozen raspberry plus a white chocolate chip dropped into the center before baking gives a tangy, creamy surprise bite.
And a pinch of cayenne and cinnamon in the batter nods to Mexican-style chocolate and pairs especially well with a cold topping to balance the warmth.
For something wintery, a drop of peppermint extract in the batter with crushed candy cane on top does the trick.
Splitting one batch of batter across two or three of these variations means every cake on the tray brings something slightly different.
Make-Ahead and Freezer Instructions
The batter itself can be made up to 24 hours in advance and kept refrigerated, then baked fresh right before serving, which makes this a realistic option for entertaining since there’s no last-minute mixing involved.
For longer storage, baked and cooled cakes keep in an airtight container in the fridge for up to 3 days, with parchment paper separating any layers.
For freezing, wrap each cooled cake individually in plastic wrap and store in a freezer-safe bag for up to 2 months.
To reheat, microwave a single cake for 15 to 20 seconds, which is enough to soften the center again.
If reheating from frozen, let the cake sit at room temperature for about 15 minutes first before microwaving.
Reheated cakes won’t be quite as gooey as ones eaten fresh from the oven, which is worth knowing going in if perfection matters for the occasion.
Final Thoughts
These mini lava cakes in muffin tins solve the actual annoying part of making lava cake at home, which is the anxiety of guessing whether the center will still be molten when you flip it out.
Between the shorter bake time and the option to drop in a frozen ganache center for insurance, this version is far more forgiving than the full-size original while still delivering the same payoff.
Make a double batch and freeze half, in future you will be glad it’s there.
Frequently Asked Questions
Can you actually bake lava cakes in muffin tins, or do they need ramekins?
Muffin tins work fine, and in some ways they’re easier than ramekins since most kitchens already have a muffin tin but not a full set of matching ramekins.
The main difference is shape: ramekins give a taller, more cylindrical cake, while a muffin tin gives a slightly flatter, rounder one. But, molten center works the same way in either.
Is there a version of this without using an oven?
Microwave version exists for a single mug-sized lava cake, but it doesn’t translate well to a full batch of mini cakes, since microwaves cook unevenly and the timing window for a molten center becomes nearly impossible to control across multiple cakes at once.
For a batch, the oven method here is the more reliable route.
How does the cost of homemade mini lava cakes compare to buying them?
Two-person lava cake at a casual chain restaurant runs close to ten dollars.
And the ingredients for a full batch of 8 to 10 mini cakes made at home, using a mid-range dark chocolate bar, cost roughly the same or slightly less, which means the homemade batch works out to under a dollar per cake rather than five dollars per serving.
What’s the difference between this and a mini chocolate lava cake made with biscuits or a shortcut mix?
Versions using canned biscuit dough or boxed brownie mix as a shortcut trade some texture and flavor depth for speed.
They can work in a pinch, but the molten center is harder to control since the dough or mix behaves differently than a true ganache-based batter, and the chocolate flavor tends to be flatter.
This recipe takes a few more minutes of prep but gives a noticeably richer result.

Mini Lava Cakes in Muffin Tins
Ingredients
Ingredients
- 1/4 cup 60g unsalted butter
- 3 oz 85g high-quality dark chocolate (60 to 70% cocoa)
- 1 whole egg
- 1 egg yolk
- 3 tbsp 40g granulated sugar
- 1 tbsp all-purpose flour
- 1/4 tsp vanilla extract optional
- Pinch of salt
Optional Add-ins
- 1/4 tsp espresso powder
- Pinch of cayenne or cinnamon
Instructions
Prep the Pan
- Preheat oven to 425°F (218°C).
- Grease mini muffin tin cups with butter or spray.
- Optional: dust each slot with cocoa powder.
Melt Chocolate and Butter
- In a small bowl, add 3 oz chopped dark chocolate and 1/4 cup butter.
- Microwave in short bursts or use a double boiler.
- Stir until melted and smooth. Cool slightly.
Whisk Eggs and Sugar
- In another bowl, whisk 1 egg, 1 egg yolk, 3 tbsp sugar, and 1/4 tsp vanilla (if using).
- Beat until slightly thick and pale.
Combine Wet Ingredients
- Slowly pour in the melted chocolate-butter mix while whisking.
- Mix until fully combined and smooth.
Add Dry Ingredients
- Sift in 1 tbsp all-purpose flour, a pinch of salt, and optional espresso/cinnamon.
- Fold gently until just combined.
Fill the Muffin Tins
- Spoon batter into muffin cups, about 3/4 full.
- You’ll get about 8–10 mini cakes.
Bake
- Bake at 425°F for 5–6 minutes.
- Edges should look set; center should jiggle slightly.
Step 8: Cool and Release
- Let sit for 1–2 minutes.
- Run a knife around the edges and gently invert onto a tray.
Notes
I’m a self-taught home cook who turns everyday ingredients into comforting, café-style recipes. I test everything in my own kitchen (sometimes more than once), tweak flavors how I like them, and share only what I actually enjoy.
Most of my recipes are chocolate-based or have a creative twist, and I keep them preservative-free, beginner-friendly, and fun to make.
If you love cozy drinks, healthier desserts, or bold flavor combos — you’re in the right place. [Read full story]