
If you have ever made a homemade coffee syrup and after a week it turned into a cloudy, crystallized mess, or you kept thinking Do coffee syrups need to be refrigerated?, then this shelf stable coffee syrup recipe is the one you have to make.
I actually got inspired because so many people on forums like shelf stable coffee syrup recipe reddit kept asking how to make it last longer without turning funky.
So I decided to experiment at home, and after testing with different sweeteners, boiling times, and bottles, I found a foolproof way to keep your coffee syrup fresh on the shelf for weeks (sometimes months).
How to Make Shelf Stable Coffee Syrup?
Shelf stable coffee syrup is a kind of syrup you make at home, but you don’t have to run and put it in the fridge the second it cools.
It’s just sugar + water + coffee boiled enough that the sugar acts like a preservative.
Ingredients:
Here’s the exact ingredient list I use when I want to make the best shelf stable coffee syrup recipe. This batch will make about 2 cups of syrup, but you can double or cut it in half.
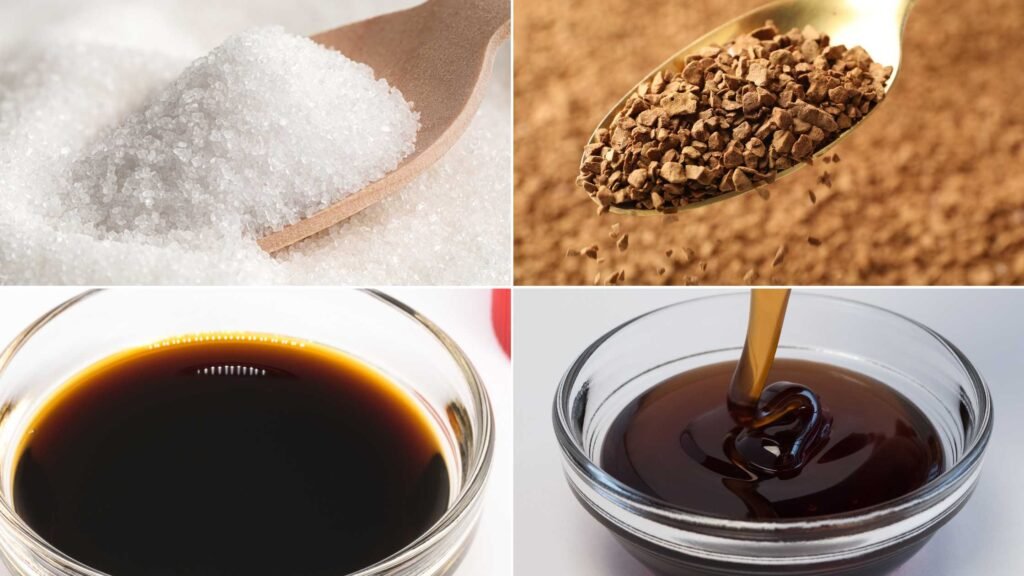
- 2 cups white granulated sugar: White sugar will work best for stability. Brown sugar adds flavor but will make it thicker and shorter-lasting. If you want a caramel-like note, you can use half white and half brown.
- 1 cup water: Filtered water is important; tap water may add unwanted minerals or tastes.
- 2 tablespoons instant coffee OR ½ cup strong brewed coffee: If you want a strong coffee flavor, instant granules dissolve cleaner and last longer, while brewed coffee will give you depth but shortens storage slightly.
- 1 teaspoon vanilla extract (optional but highly recommended) – For making a shelf stable vanilla coffee syrup recipe version.
- Pinch of salt: it will balance the sweetness and enhance the coffee flavor.
- Optional: 1 teaspoon light corn syrup: it will prevent crystallization if you live in a colder climate. It’s not required, but it can help.
Instructions
Here’s the exact process I follow every time. If you want to know how to make shelf stable syrup, you’ve to cook it properly, not just stir sugar into water.
Step 1: Dissolve Sugar
You have to add 2 cups of sugar and 1 cup of water to a saucepan. And then, put it over medium heat and stir until the sugar dissolves completely.
- Don’t let it boil yet, just keep it gentle so crystals dissolve.
- If you see any sugar on the sides of the pan, brush it down with a wet spoon to avoid crystallization later.
Step 2: Add Coffee
Now add either instant coffee or brewed coffee.
Stir until fully mixed in. The color will turn dark and glossy.
- If you’re using cocoa powder to make mocha syrup, whisk it in at this stage (about 2 tbsp).
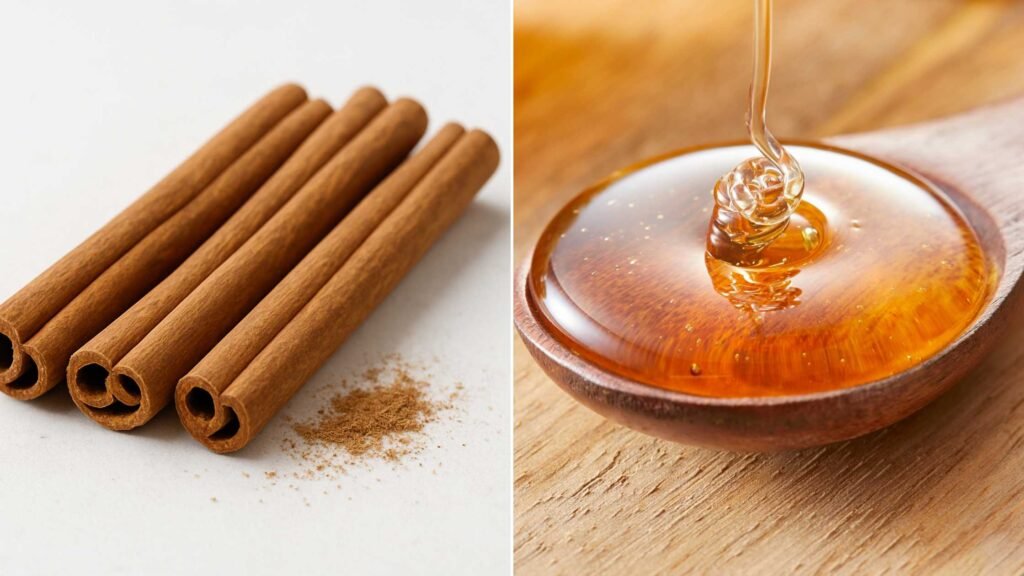
- You can also add a cinnamon stick now if you want a spicy note.
Step 3: Boil & Reduce
You have to turn the heat (medium-high). And, bring that coffee sugar mixture to a gentle boil.
Let it simmer for 7 to 8 minutes.
- You don’t want it too thick at this point because it will thicken more as it cools.
- This step will kill bacteria and make it shelf stable.
Pro Tip: If you live in a place where humidity is high, I recommend you add 1 tsp of corn syrup here. It will prevent sugar crystallization.
Step 4: Add Vanilla & Salt
Now turn off the heat and add vanilla extract and a pinch of salt.
Note: You never want to add vanilla while boiling.
Step 5: Bottle It Right
You can now pour your hot syrup into sterilized glass bottles or use a jar for that.
After pouring, seal your syrup immediately.
- Always sterilize your bottles with boiling water or dishwasher’s sanitize mode.
- Store them in a cool, dark pantry.
Ingredient Notes & Substitutes
- Sugar: Swap sugar with honey or maple if you want it truly shelf stable, because natural syrups ferment faster. For a lower-calorie option, check out this sugar-free chocolate pudding with almond milk recipe for how alternative sweeteners work, but just know they don’t preserve as long.
- Coffee: Instant coffee is the most stable choice. If you prefer freshly brewed espresso, that’s fine, but store it in the fridge after 2 weeks.
- Flavors: Cinnamon sticks, cocoa powder, or nut extracts can be added for custom syrups. For chocolate fans, you could even turn this into a mocha syrup similar to the Starbucks dark chocolate mocha recipe.
- Vanilla: Real vanilla extract keeps better than fresh beans in the syrup.
Flavor Variations You Can Try
One of the best things about this syrup is how easy it is to adapt. Here are some tested versions:
- Vanilla Coffee Syrup: Simply add an extra 2 tsp vanilla. It will work like Starbucks vanilla syrup.
- Mocha Syrup: Add 2 tbsp cocoa powder + a little extra sugar for balance. Goes well in iced mochas or over brownies like these rice flour brownies with cocoa powder.
- Caramel Coffee Syrup: Swap half white sugar with brown sugar and let it cook longer for a caramel flavor.
- Cinnamon Syrup: Add a cinnamon stick while boiling, then remove before bottling.
- Holiday Spice Syrup: Drop in nutmeg, cloves, or even orange peel for festive lattes.
- Sugar-Free Version: Use allulose or monk fruit, but keep it refrigerated since it won’t be naturally preserved.
What to Serve With Coffee Syrup
You don’t have to limit this to just lattes or coffee. Here’s what I recommend you pair it with:
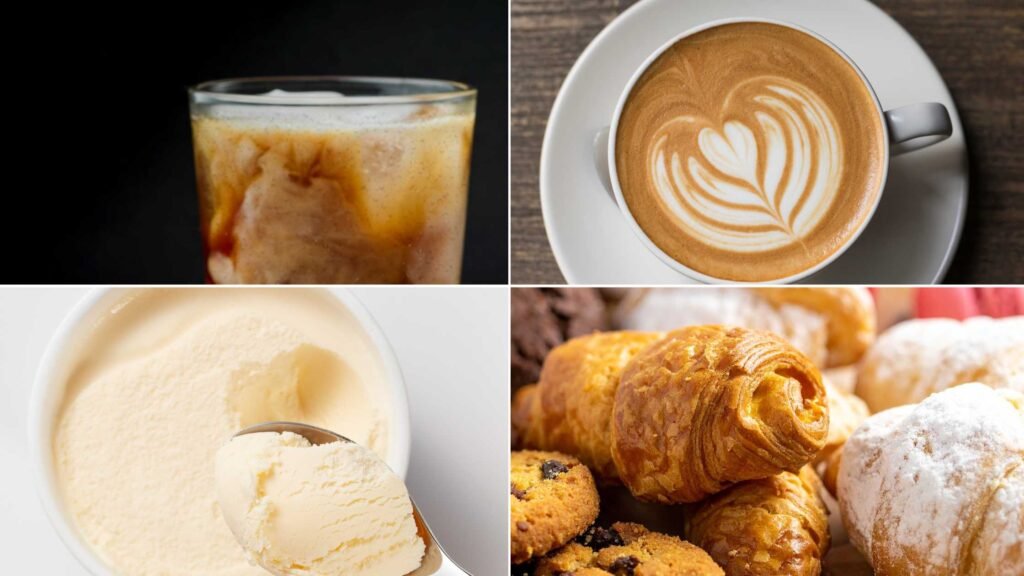
- Iced coffee: Just add 2 tbsp of syrup into cold brew and stir. You can even use it with Stok cold brew.
- Hot lattes: You’ve to combine with steamed milk, like the hazelnut chocolate milk tea recipe, but with syrup instead.
- Desserts: Drizzle over vanilla ice cream, cheesecake, or pancakes.
- Baked goods: Brush over sponge cakes before frosting to keep them moist.
Storage Instructions: How to Store Coffee Syrup
This is the most important part of making a shelf stable syrup.
- Pantry: If bottled hot in sterilized jars, it lasts 1 to 2 months at room temperature.
- Fridge: If you want it extra safe, refrigerate it after opening. It can last 3 to 4 months easily.
- Signs of Spoilage: Cloudiness, mold, or a fermentation smell mean discard it.
- Do Coffee Syrups Need to Be Refrigerated? Not if you prepare it the way I showed above. But once opened frequently, the fridge is safer.
For comparison, if you’ve ever made homemade chocolate fudge or sauces, you’ll know they need chilling (like the chocolate fudge recipe with marshmallow fluff).
But syrup is different because sugar acts like a natural preservative.
Tips for the Best Shelf Stable Coffee Syrup
- You have to use clean, sterilized bottles. Dirty jars = fast spoilage.
- Don’t undercook. At least 6 minutes of simmering will make it safe.
- Use more sugar than water (2:1 ratio) for the longest shelf life.
- Shake the bottle before using, since natural separation can happen.
- Make smaller bottles if you don’t drink coffee daily — easier to store.
Conclusion
This was my shelf stable coffee syrup recipe, the one I keep coming back to because it doesn’t go cloudy after a few days, doesn’t ferment, and doesn’t waste my effort.
Just sugar, water, coffee, that’s it.
You’ll boil it the right way, pour it into a clean bottle, and then you’ll have your own barista-style syrup sitting ready whenever you crave an iced coffee or latte.
Moreover, you don’t only stick with plain coffee flavor. I already showed you how you can make vanilla, mocha, cinnamon, caramel, or even a holiday twist.
All of them stay fine if you follow this same method. So no more do coffee syrups need to be refrigerated every time. You’ll have it right there in your kitchen, waiting.
FAQs About Shelf Stable Coffee Syrup
Here are some important questions and answers:
How can I make my coffee syrup shelf stable?
It’s super simple. You’ll just use more sugar than water, at least double the sugar. Then boil it for 6–8 minutes, bottle hot in a clean jar.
That’s literally the whole trick.
What makes a syrup shelf stable?
Two things mainly: sugar is the preservative here, and cooking it enough. When it’s hot and sealed right, nothing grows inside. That’s why it doesn’t spoil fast.
What is the shelf life of coffee syrups?
If you do it like I showed, then easily 1–2 months outside, in your pantry. Once you open and start using it, better keep it in the fridge, it’ll last around 3–4 months.
How to make shelf stable simple syrups?
Same process, just sugar and water. Use 2 cups sugar + 1 cup water, simmer, bottle hot. That’s the base.
From there, you can flavor it with vanilla, cinnamon, coffee, whatever you like.
Do coffee syrups need to be refrigerated?
Not really, not if you made it properly. If you just mixed sugar and coffee cold, yes, then it’ll spoil. But when you cook it and seal it, you don’t need a fridge right away.
But after opening a lot, it is better to refrigerate it so it stays longer.
Can I use brown sugar instead of white?
Yep, you can, but the syrup might not last quite as long.
Brown sugar is wetter. It’ll give caramel vibes, though, so half and half is nice.
Is homemade coffee syrup safe without preservatives?
Yes. Sugar is the preservative. That’s all you need. As long as you boil it right and keep it in clean bottles, it’s safe.

Shelf Stable Coffee Syrup Recipe
Ingredients
- 2 cups white granulated sugar
- 1 cup water filtered
- 2 tbsp instant coffee or ½ cup strong brewed coffee
- 1 tsp vanilla extract optional
- Pinch of salt
- Optional: 1 tsp light corn syrup prevents crystallization
Instructions
Dissolve Sugar
- Combine sugar and water in a saucepan.
- Heat on medium and stir until the sugar dissolves completely.
Add Coffee
- Stir in instant coffee or brewed coffee until dark and glossy.
- Optional: add cocoa powder or cinnamon stick for flavor twists.
Boil & Reduce
- Bring to a gentle boil and simmer 7–8 minutes.
- The syrup should thicken slightly but still pour easily.
Add Vanilla & Salt
- Remove from heat. Stir in vanilla extract and salt.
Bottle & Store
- Pour hot syrup into sterilized glass bottles or jars.
- Seal tightly and store in a cool, dark pantry.
Notes
Don’t swap sugar with honey or maple if you want it shelf stable.
I’m a self-taught home cook who turns everyday ingredients into comforting, café-style recipes. I test everything in my own kitchen (sometimes more than once), tweak flavors how I like them, and share only what I actually enjoy.
Most of my recipes are chocolate-based or have a creative twist, and I keep them preservative-free, beginner-friendly, and fun to make.
If you love cozy drinks, healthier desserts, or bold flavor combos — you’re in the right place. [Read full story]